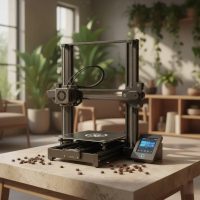
Stepping into the world of 3D printing can feel like exploring a new dimension, filled with endless possibilities and technical jargon. But what if there was a gateway machine, robust enough for seasoned creators yet gentle enough for total newcomers? Enter the Creality Ender 3 3D printer, a name synonymous with accessible innovation that has revolutionized the desktop 3D printing landscape. This isn’t just a machine; it’s a phenomenon that has empowered countless hobbyists, educators, and professionals to bring their digital designs to tangible reality.
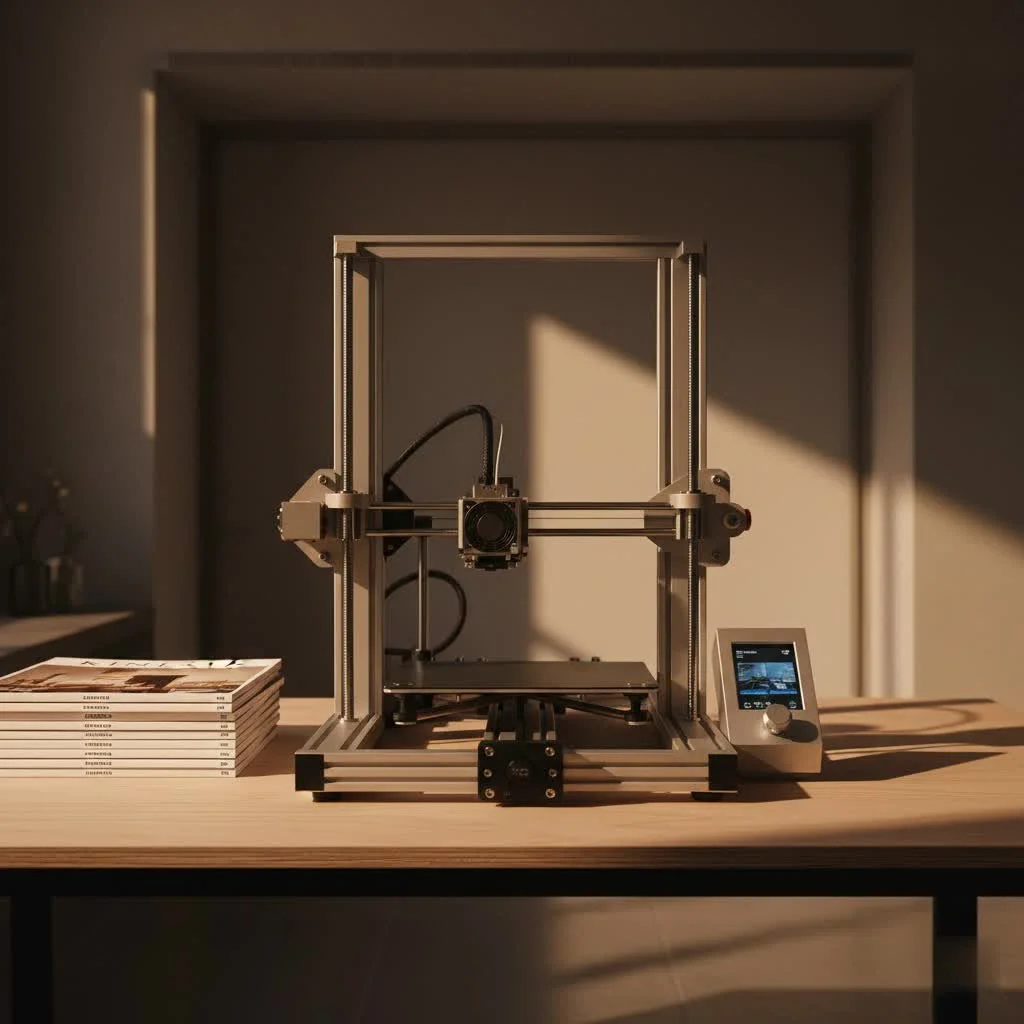
At WMTSV.com, we understand the quest for the perfect 3D printer, and over the years, the Creality Ender 3 has consistently proven itself as a benchmark for reliability, affordability, and sheer upgrade potential. From its humble beginnings to its latest iterations, the Ender 3 series has continuously evolved, incorporating user feedback and pushing the boundaries of what a budget-friendly FDM printer can achieve. Whether you’re looking to print functional prototypes, intricate models, or simply curious to dip your toes into additive manufacturing, understanding the nuances of the Ender 3 is your first step towards becoming a 3D printing pro.
The Enduring Legacy of the Creality Ender 3
The original Creality Ender 3 burst onto the scene as a game-changer, democratizing 3D printing with its unbeatable price-to-performance ratio. Before its arrival, owning a capable 3D printer often meant a hefty investment, but the Ender 3 changed that narrative entirely. It offered a solid foundation for FDM printing, becoming the go-to recommendation for anyone starting their 3D printing journey. Its open-source nature fostered a massive, supportive community that shared knowledge, developed countless modifications, and provided invaluable troubleshooting tips, turning the Ender 3 into more than just a product—it became a platform for learning and innovation.
This printer’s success wasn’t accidental. Creality listened, iterated, and improved, leading to a lineage of models that refined the original’s strengths and addressed its weaknesses. This commitment to improvement is why the Creality Ender 3, in its various forms, remains a top contender in a constantly evolving market.
Diving Deep into Features and Specifications
The core appeal of any Creality Ender 3 3D printer lies in its blend of practical features and solid specifications, making it a versatile tool for a wide range of projects.
Build Volume: Most Ender 3 models offer a generous build volume of 220 x 220 x 250mm, providing ample space for printing substantial objects without needing to split them into multiple parts. This dimension strikes a perfect balance for desktop use, accommodating common print sizes while maintaining a relatively compact footprint.
Filament Compatibility: The Ender 3 series is highly versatile regarding materials. Equipped with a heated bed capable of reaching up to 110°C and a hotend that can reach 255°C (up to 300°C on newer V3 models), it comfortably handles popular filaments like PLA, PETG, and ABS. It also performs well with flexible filaments such as TPU, especially with direct drive extruder setups found in more recent versions. This broad compatibility opens up a world of creative and functional printing possibilities.
Print Speed: While the original Ender 3 printed at respectable speeds, newer iterations like the Ender 3 V3 and V3 KE have shattered previous benchmarks. Thanks to advanced motion systems (like the Core XZ on the V3) and optimized firmware, these models can achieve print speeds of up to 500-600mm/s, significantly reducing print times without sacrificing quality.
Extruder Type: Earlier Ender 3 models featured a Bowden extruder setup, where the motor is separated from the hotend. While effective, it could sometimes present challenges with flexible filaments. Recognizing this, Creality introduced direct drive extruders on many newer models, including the S1 and V3 series, which offer more precise filament control and better performance with softer materials.
Build Plate: The original Ender 3 typically came with a non-removable build surface. However, subsequent versions often feature a removable, magnetic heated bed, making print removal much easier. High-quality tempered glass or textured PEI (Powder-coated PEI) sheets are also common upgrades or standard features on advanced models, offering superior adhesion and durability.
Connectivity: All Ender 3 printers support printing via an SD card (or microSD card) for standalone operation. Many also include a USB port for tethered printing from a computer, and newer “smart” versions may even offer Wi-Fi connectivity for remote control via Creality Cloud or other network solutions.
Ease of Assembly: While the Ender 3 is often sold as a DIY kit, Creality has continuously refined the assembly process. Modern versions, such as the Ender 3 V3, are highly pre-assembled, allowing for setup in as little as 10 minutes, making the initial experience far less daunting for beginners.
A Family Affair: Ender 3 Variants Compared
The Creality Ender 3 is not a single printer but a family of machines, each building upon the last to offer improved performance and features. Understanding the differences can help you choose the best Creality Ender 3 3D printer for your needs.
Ender 3 Pro
|
Our Picks for the Best 3D Printer in 2026
As an Amazon Associate I earn from qualifying purchases.
|
||
| Num | Product | Action |
|---|---|---|
| 1 | FLASHFORGE Adventurer 5M Pro 3D Printer with 1 Click Auto Printing System, 600mm/s High-Speed, Quick Detachable 280°C Nozzle, Core XY All-Metal Structure, Multi-Functional 220x220x220mm 3D Printer |

|
| 2 | FLASHFORGE Adventurer 5M 3D Printer with Fully Auto Leveling, Max 600mm/s High Speed Printing, 280°C Direct Extruder with 3S Detachable Nozzle, CoreXY All Metal Structure, Print Size 220x220x220mm |
|
| 3 | FLASHFORGE AD5X Multi-Color 3D Printer with IFS, 600mm/s High Speed, 300°C High Temp Direct Extruder, Fully Auto Leveling, All Metal CoreXY,4-Color Printing for PLA-CF,PETG-CF, 220x220x220mm |
|
| 4 | FLASHFORGE AD5M Pro 3D Printer 600mm/s High Speed & Precision, Full-Auto Calibration with 0.4&0.6mm Nozzle Bundle, CoreXY Structure & Auxiliary Chamber Cooling, ≤50 dB Quite Printing Camera Printers |
|
| 5 | FLASHFORGE AD5X Multi-Color 3D Printer 4 Colors with IFS, Fully Auto Leveling FDM 3D Printer with Max 600mm/s High Speed Printing and Max 300°C Nozzle, Large Printing Size 220 * 220 * 220mm |
|
| 6 | Anycubic Multicolor 3D Printer, Kobra S1 Combo Core XY Stable Structure with Sealed Printing High Precision 600mm/s Fast Speed Auto Calibration Ideal for Precision and Efficiency 9.8\"x9.8\"x9.8\" |
|
| 7 | FLASHFORGE AD5X Multi-Color 3D Printer, CoreXY 600mm/s High-Speed, 1-Click Auto Leveling, 300°C Direct Drive Extruder, 220x220x220mm Build Volume, Ideal for Precision and Efficiency |
|
| 8 | Creality K2 SE Combo 3D Printer, Support Multicolor Printing with CFS, 500mm/s High-Speed, Smart Auto Leveling, Solid Metal Build Frame, Fully Assembled, Next-Gen Extruder, 220×215×245 mm Build Volume |
|
| 9 | Creality Ender 3 V3 SE 3D Printer, 250mm/s Faster Print Speed CR Touch Auto Leveling Sprite Direct Extruder Dual Z-Axis Auto Filament Loading Ender 3 Upgrade 3D Printer Print Size 8.66x8.66x9.84 inch |
|
| 10 | FLASHFORGE AD5M 3D Printer Fully Auto Calibration Print with 1-Click Max 600mm/s Speed, All-Metal CoreXY Structure Precise Printing, Easy-Maintenance Quick-Swap Nozzle, Print Size 220x220x220mm |
|
The Ender 3 Pro was an early refinement, offering a sturdier Y-axis extrusion and a detachable magnetic build plate. These subtle changes enhanced stability and user convenience, addressing some of the feedback from the original model.
Ender 3 V2
The Ender 3 V2 brought a more polished design, a silent mainboard (a huge plus for noise-sensitive environments), and a color screen. It also introduced a glass build plate, which many users found offered better print adhesion and a smoother first layer finish. Its integrated toolbox was a nice touch, keeping essential tools organized.
Ender 3 S1 and S1 Pro
These models marked a significant leap, featuring Creality’s “Sprite” direct drive extruder and CR Touch auto-bed leveling. The S1 Pro further enhanced this with an all-metal hotend for higher temperature printing and a PEI build plate, offering a more premium experience with improved material compatibility and ease of use.
Ender 3 V3 and Ender 3 V3 KE
The latest generation, like the Creality Ender 3 V3 and Ender 3 V3 KE, truly showcases Creality’s innovation. These printers boast dramatically increased print speeds, often exceeding 500mm/s, thanks to a Core XZ motion system in the V3 and linear rails for the X-axis in the V3 KE. They come with auto-calibration, high-wattage ceramic heaters for rapid heating, and dual cooling fans for exceptional print quality at speed. The integrated die-cast aluminum alloy design offers enhanced stability and a sleek aesthetic. These versions are designed to be powerful, user-friendly, and capable of rivalling much more expensive machines.
Navigating Common Challenges and Solutions
Even with its impressive capabilities, owning a Creality Ender 3 3D printer can come with a few common hurdles. But don’t worry; with a little knowledge, these issues are easily overcome.
Under-Extrusion
This often manifests as thin, weak, or missing layers in your prints. The culprits can range from a partially clogged nozzle, a gap in the Bowden tube within the hotend, or incorrect flow settings in your slicer. A quick fix can involve performing an “atomic pull” to clear the nozzle or ensuring your Bowden tube is seated flush against the nozzle. On newer models with direct drive, checking for filament path obstructions is key.
First Layer Adhesion Issues
Getting that crucial first layer to stick is vital for a successful print. If your prints aren’t adhering, it could be due to an unlevel bed, a dirty build surface, or incorrect bed temperature settings. Thoroughly cleaning your build plate with isopropyl alcohol, ensuring precise bed leveling (manual or auto-leveling with a sensor), and experimenting with bed temperatures for your specific filament are common solutions.
Z-Wobble or Z-Binding
Sometimes, prints might show inconsistent layers or a slight “wobble” along the Z-axis. This is often related to the Z-axis lead screw’s alignment or tightness of the eccentric nuts on the gantry wheels. Lubricating the lead screw, ensuring it’s straight, and correctly adjusting the eccentric nuts can often resolve these issues, leading to smoother vertical surfaces.
Nozzle Clogging
A common frustration, nozzle clogs can stop a print dead in its tracks. They often result from foreign debris in the filament, excessive retraction settings, or printing at too low a temperature. Clearing a clog can involve heating the hotend and pushing a needle through the nozzle, performing a cold pull, or, in persistent cases, replacing the nozzle entirely.
Printer Noise
While silent mainboards are standard on newer Ender 3 models, older versions can be quite noisy due to their stepper motor drivers and fans. This isn’t a performance issue, but it can be a nuisance. Fortunately, this is one of the most popular areas for upgrades, as discussed next.
Unlocking Potential: Essential Creality Ender 3 Upgrades
One of the most appealing aspects of the Creality Ender 3 3D printer is its vast upgrade potential. The community has developed countless modifications, many of which are easy to implement and significantly enhance performance, reliability, and user experience.
- Auto Bed Leveling Sensor (BLTouch/CR Touch): This is arguably the most impactful upgrade for any Ender 3. Sensors like the BLTouch or Creality’s CR Touch automate the bed leveling process, ensuring a perfect first layer every time and drastically reducing setup time and frustration.
- PEI or Glass Build Plate: While many newer models come with improved build surfaces, upgrading to a textured PEI sheet or a tempered glass plate can provide superior adhesion for various filaments and make print removal a breeze. PEI offers excellent adhesion when hot and releases prints easily when cool, while glass provides a perfectly flat, smooth surface.
- All-Metal Extruder or Direct Drive System: Replacing the stock plastic extruder with an all-metal version improves durability and filament grip. A full direct drive conversion further enhances performance, especially with flexible filaments, by positioning the extruder motor directly above the hotend.
- Capricorn PTFE Tubing: For Bowden setups, upgrading to high-quality Capricorn PTFE tubing reduces friction in the filament path. This leads to smoother extrusion, fewer clogs, and the ability to print at slightly higher temperatures with less heat creep.
- Silent Mainboard: If you own an older Ender 3, a silent mainboard upgrade (such as the BigTreeTech SKR Mini E3) is transformative. It replaces noisy stepper motor drivers with quieter ones, making the printer virtually silent during operation. Many also allow for advanced firmware like Klipper.
- Cooling System Enhancements: Upgrading the part cooling fan or installing a custom fan duct can dramatically improve print quality, especially for overhangs and bridging, by ensuring rapid and even cooling of extruded filament. Dual 5015 blower fans are a common and effective mod.
- Klipper Firmware: For advanced users seeking maximum speed and precision, migrating to Klipper firmware (often requiring a Raspberry Pi and a compatible mainboard) unlocks significant performance gains, allowing for faster prints with enhanced quality through features like input shaping.
Expert Insight:
“The beauty of the Creality Ender 3 lies not just in its accessible price point, but in its incredible versatility and the vibrant community that supports it. It’s a true workhorse that, with a few thoughtful upgrades, can rival much more expensive machines. It’s the perfect starting point for anyone serious about diving deep into the world of additive manufacturing.” – Dr. Elara Vance, Senior 3D Printing Architect at WMTSV.com.
Is the Creality Ender 3 the Right 3D Printer for You?
Deciding if the Creality Ender 3 3D printer is the right choice depends on your specific needs, experience level, and budget.
Pros:
- Affordability: Consistently one of the most budget-friendly options on the market.
- Print Quality: Capable of producing high-quality prints, especially with proper calibration.
- Upgradeability: An extensive ecosystem of affordable upgrades allows for customization and performance enhancement.
- Community Support: A massive and active global community provides abundant resources, tutorials, and troubleshooting assistance.
- Learning Platform: Its DIY nature and upgrade potential make it an excellent machine for learning the ins and outs of 3D printing.
- Versatility: Compatible with a wide range of filaments and suitable for various applications.
Cons:
- Initial Setup (older models): Assembly can be challenging for absolute beginners on older versions.
- Manual Bed Leveling (older models): Can be a tedious and recurring task without an auto-leveling sensor.
- Noise (older models): Stock fans and stepper drivers on older models can be quite loud.
- Tinkering Required: While a pro for some, those looking for an “out-of-the-box” perfect experience might find it requires more tinkering than other printers.
The Creality Ender 3 is an ideal choice for beginners eager to learn, hobbyists who enjoy tinkering and upgrading, and educators looking for an affordable and robust platform. It’s a printer that grows with you, adapting to your evolving skills and needs.
Frequently Asked Questions (FAQ)
What types of filament can the Creality Ender 3 print?
The Creality Ender 3 3D printer can print with most common 1.75mm filaments, including PLA, PETG, ABS, and TPU (flexible filament). Newer models with direct drive extruders and higher hotend temperatures expand its compatibility even further.
How long does it take to assemble a Creality Ender 3?
Assembly time varies by model. Older kits might take an hour or more, while newer versions like the Ender 3 V3 are highly pre-assembled and can be put together in as little as 10-15 minutes.
Do I need to upgrade my Ender 3?
While the stock Creality Ender 3 3D printer is capable of good prints, many users choose to upgrade for enhanced features like auto-bed leveling, quieter operation, faster speeds, or better handling of specific filaments. Upgrades are not strictly necessary but can significantly improve the user experience.
What is the typical build volume of an Ender 3?
Most Creality Ender 3 models offer a build volume of 220 x 220 x 250mm, which is suitable for a wide array of projects from small intricate parts to larger functional prototypes.
Is the Creality Ender 3 good for beginners?
Yes, the Creality Ender 3 is widely recommended for beginners due to its affordable price, robust performance, and the immense community support and resources available online. It’s a great platform to learn the fundamentals of 3D printing.
What are common print quality issues with the Ender 3 and how do I fix them?
Common issues include under-extrusion (thin layers), poor first layer adhesion (prints not sticking), and Z-wobble (inconsistent layers). These are often fixed by correctly leveling the bed, cleaning the build surface, clearing nozzle clogs, and ensuring proper Z-axis alignment.
Your Journey into 3D Printing Starts Here
The Creality Ender 3 3D printer stands as a testament to innovation and accessibility in additive manufacturing. It’s more than just a piece of hardware; it’s an invitation to explore, create, and innovate. Whether you choose the foundational original or one of its advanced successors, you’re investing in a machine that offers incredible value, a supportive community, and limitless potential.
We at WMTSV.com are committed to guiding you through every step of your 3D printing adventure. Dive in, get your hands dirty, and witness the magic of turning ideas into reality with your Creality Ender 3. The future of making is here, and it’s more accessible than ever before.
Get our weekly buyer guide
Practical specs, not advice. Unsubscribe anytime.